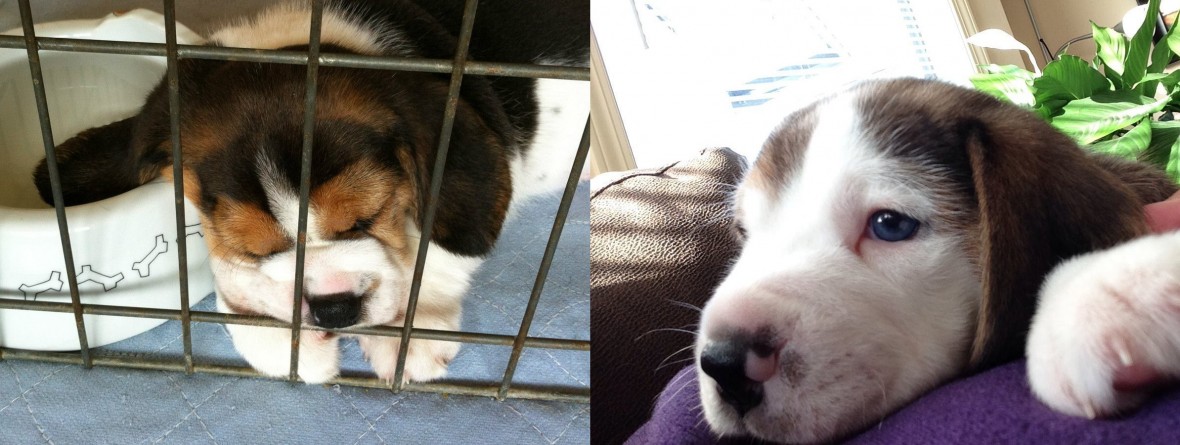


Ziggy here. It’s been awfully quiet around here for the past few years, but we’ve been extremely busy beagles. Earlier this year, I was diagnosed with a food allergy. That wasn’t fun. I had a rash all over. It made me very itchy and turned into a skin infection.
If you don’t want to read the tale of my very bad food allergy and the process for diagnosis, you can hop down to the recipe.
Our vet had our guardians do a bunch of things to find the source of the allergy. The first step was to rule out environmental allergies, like pollen. Once we eliminated all environmental sources, the next step was an elimination diet. While my guardians and vet were going through this process, I was also placed on a med to help with my itchy.
The first step of the elimination diet was to switch to a prescription allergy food. That switch made me worse. Aside from the rash, I had diarrhea and vomiting for days. I had to be admitted to the hospital for day-treatment because I got severely dehydrated, there was blood in my stool, and my blood work was really bad.
When I was discharged from hospital, I was on a bland diet for a week — boiled chicken breasts, white rice and pumpkin, plus prescription probiotics and an anti-nausea med. When I was on that bland diet, my rash started to clear up. After a re-check, it was decided that I would eat nothing but homemade food for two months. For the homemade food, our vet recommended Hilary’s Blend Supplement and making recipes on the Hilary’s Blend website to ensure we were getting a balanced and health diet. Any treats were to be homemade aside from rice cakes. We love our plain brown rice cakes!
If the rash completely cleared up, then my guardians were to re-introduce store-bought treats, one at a time over several days, to see if the rash returned and to see if they could figure out which ingredient I was allergic too.
The first treat to be reintroduced was Pup-peroni. Within days, my rash was back. My guardians looked at the ingredients of our old food and all of our old store-bought treats and the only common allergen was wheat. Wheat is an extremely rare allergen in us doggos, despite what you may read on these internets, but it was the only thing aside from the preservatives, which is even more rare.
It was back to nothing but homemade, wheat-free food and treats for a month. The quest for homemade wheat-free alternatives to Milk Bones and Pup-peroni had begun. They had found a wheat-free commercial dental chew.
Once I was completely clear again, my guardians gave me wheat-free store-bought dental chews, thinking the source of the allergen was discovered. Within a couple of days, my rash came back with a vengeance. That left the even more extremely rare allergy to preservatives and/or dyes.
Now the quest for homemade dental chews also began.
When my guardians were searching the internets for homemade Pup-peroni, they couldn’t find a single recipe that was actually good for dogs. A lot of them called for using pepperoni sticks or sausages that contain ingredients that are toxic to dogs and/or contain allergens. Others called for putting uncooked meat in a dehydrator which doesn’t kill harmful bacteria. So, they had to create their own.
Our homemade pupperoni contains low fat ground turkey or chicken; reduced sodium bacon; brown rice flour as a binding agent; flaxseed oil for essential Omega-3s; liquid smoke for some extra flavour; basil for its anti-bacterial and anti-inflammatory properties; cinnamon for its antioxidants; ginger for its anti-bacterial and anti-inflammatory properties; parsley for antioxidants, fiber, vitamins and minerals; rosemary for its fiber and minerals; and turmeric for its heart-health properties and boosts to our metabolism as beagles are prone to weight gain, especially after spay or neuter. Your guardian can use other herbs and spices but they should first check which herbs and spices are actually good for dogs and which ones are very toxic.
If you are allergic to turkey or chicken, tell your guardian that they can substitute poultry for lean ground pork or beef. And if you are allergic to pork, tell your guardian they can omit the bacon if they they use regular ground beef, instead of lean or extra lean.
Aside from the ingredients, your guardian will need wax paper, cookie sheet(s), cutting board, knife stainless-steel mixing bowls, broiler pans with grill, an oven-safe meat probe, a food dehydrator, and paper towel. If your guardian doesn’t have a food dehydrator, they can use the oven.
Homemade ‘Pupperoni’ Materials, Ingredients, and Method – Approximately 8 – 12 calories per 1x1x10 cm stick
Homemade Pupperoni Materials:
- Wax Paper
- Cookie Sheet(s)
- Cutting board
- Knife
- Food Dehydrator (can be substituted with the oven)
- Stainless-steel mixing bowls
- 2 Broiler pans with grill (can be substituted with cookie sheets and aluminium foil)
- Paper Towel
- Oven-safe Meat Probe
Homemade ‘Pupperoni’ Ingredients:


- 454 – 500 grams (2 pounds) of extra-lean or lean ground turkey or chicken (can substitute for lean or extra-lean ground pork or beef)
- 60 grams (2 ounces) of low sodium frozen bacon finely minced (if allergic to pork, can be eliminated if using regular fat ground beef)
- 1 tsp each of basil, cinnamon, ginger, parsley, rosemary, turmeric
- 1 tsp flaxseed oil
- 1 tbsp salt-free liquid smoke
- 1/2 to 1 cup brown rice flour (binder; add for desired consistency. Our guardians use 1/2 cup per 454 grams of ground meat)
Note: If you want to change the batch size: For every 200 – 250 grams (7 oz) of ground lean turkey, 30 grams (1 oz) of reduced salt bacon finely minced and 1/2 tbsp of liquid smoke; for every 454 – 500 grams (2 pound) of meats, 2 tbsp of herbs and spices.
Homemade Pupperoni Method:
Pre-Cook Steps: These steps are extremely important in order to kill off harmful bacteria that would otherwise grow during the dehydration process and during storage.


- By hand, mix all the ingredients in a stainless-steel bowl. Meat needs to be kept at 5 degrees Celsius (40 F), so you may need to refrigerate it for an hour if you defrosted the meat on the counter.
- On a sheet of wax paper placed on top of a cookie sheet, hand roll the meat to about 1 – 2 cm (1/2 – 3/4 inch) in diameter.
- Freeze for 1 – 2 hours to help with keeping form while slicing. This step can be skipped if your guardian wants to form them by hand after cutting, but they’ll look a lot like dog poops when done.
- Slice into desired sizes.
- Preheat the oven to 165 Celsius (325 F)
- Place the sliced sticks onto either the broiler pans or cookie sheets lined with aluminium foil.
- Insert the meat probe.
- Bake to an internal temperature of 71 – 74 Celsius (160 – 165 F).
- Remove from the oven and remove the probe. Don’t forget the probe will be very hot so don’t touch it without even mitts on.
- Remove from the broiler grill or cookies sheets and place between paper towels to remove excess fat and oils.
Oven Dehydration Steps:
- Turn the oven down to the lowest temperature.
- Place the oil-removed sticks back on the broiler or cookies sheets lined with fresh aluminium foil.
- Dry to desired texture. You may need to rotate trays from top to bottom for even dehydration. Can take 4 – 8 hours depending on how thick you’ve made your pupperoni sticks.
- Immediately after drying, seal all treats in a single container or resealable bag and let sit overnight to allow moisture to equalize and improve pliability. Do not refrigerate as this will reintroduce moisture and bacteria.
Food Dehydrator Steps:
- Place the oil-removed sticks on the dehydrator trays. Our guardian places the fruit roll-up tray on the bottom to catch crumbs as they dry.
- Dry at 60 to 66 Celsius (140 to 150 F) to desired texture. This can take 4 – 8 hours depending on how thick you’ve made your pupperoni sticks.
- Immediately after drying, seal all treats in a single container or resealable bag and let sit overnight to allow moisture to equalize and improve pliability. Do not refrigerate as this will reintroduce moisture and bacteria.
Storage:

- Repackage to smaller packages and mark as dog treats.
- Store unrefrigerated for up to 2 to 3 months or freeze for long-term storage. If freezing without vacuum sealing, the added moisture will reduce shelf life to 2-3 days when thawed.
Archer and I love these! Enjoy!
PS: We’ll have our guardians help us write out the recipes for our dental chews and cookies at a later date.